Tuesday, August 30, 2011

Icy Cantaloupe "Smoothie"

This is my favorite way to eat cantaloupe.  I call it a smoothie but technically smoothies have dairy as an ingredient so this is more like a blended fruit drink.  It's really simple to make and is very refreshing on a summer day.  

I started with a small cantaloupe and cut the top and bottom to create a flat surface.  This way the cantaloupe doesn't roll around and makes cutting easier.

Then I cut the cantaloupe in half.

Using a spoon I scooped out the insides.

Then I cut the halves into quarters...

and then into eighths.

To cut off the rind I started on one end and cut about halfway.

Then I stood it up and finished cutting it off.  This is where trimming the top and bottom of the cantaloupe(the very first picture) comes in handy for stability.


Then I cut the eighth pieces into small bite size pieces.  They should look like little trapezoids.  

Now here's the easy part. I took a cup of ice and a cup and a half of cantaloupe pieces...

put them in a blender along with a little water and honey...

and voila! If you let it sit you'll see it starts to separate but nothing a little stirring can't fix!


This recipe can easily be doubled.  If you don't have honey you could add some sugar instead or, if you're trying to cut back on your sugar intake use stevia.

Adapted from All Recipes

Serves 1

1 cup ice
1 ½ cups cantaloupe, cubed/cut into pieces
¼ cup water
honey 

Place first three ingredients in a blender and blend.  Add desired amount of honey to taste.  Blend again and serve.

Monday, August 29, 2011

Vegan Thumbprint Cookies


I've made thumbprint cookies before but these are quite different.  The ones I made for Christmas had tons of butter and were very yummy but you probably shouldn't eat them too often (unless you want clogged arteries).  So when I found a recipe for a vegan version on The Kitchn I was curious to see how the two would compare.  After baking them and taste testing,  I would say that this vegan cookie is more like a granola bar type of snack rather than a dessert.  Although I probably wouldn't crave these cookies when I have a sweet tooth coming on, I would definitely not mind having a couple instead of a granola bar.  I hope you don't let the word "vegan" in the name turn you off from trying them! 

Note: The recipe is almost identical to the one on The Kitchn, but cut in half.

1 cup whole almonds
2 cups quick-cooking oats
1/8 teaspoon salt
3/4 cup flour
1/2 cup canola oil
1/2 cup maple syrup
strawberry jelly

Preheat oven to 350° F.  Have a baking sheet ready.  

In a food processor or blender pulse the almonds into almond meal.  If you want more texture don't pulse the almonds as much. Put the almond meal in a large bowl.

Mix in the oats, salt, and flour.  Pour in the oil first, and then maple syrup.  Use a wooden spoon to mix ingredients together.  Then use your hands to finish combining all ingredients.  Roll the dough into balls the size of whole walnuts and place on baking sheet.  The cookies don't expand much so they can be close together on the baking sheet.

Use the back of a teaspoon to make indentations in the middle of each dough ball.  Then scoop about a teaspoon of jelly on each cookie.

Bake for 15 minutes.  Let cookies cool on the sheet for 15 minutes before removing because they don't hold up too well when warm.


Friday, August 26, 2011

Throwdown: hot dogs

Last night Yohan and I faced off in a hot dog throwdown challenge! We both used the same franks and buns, but decided on different toppings.  We asked my little sister Wuz to be the judge in a blind taste test so while we were in the kitchen she was exiled into the living room to watch her anime shows (sorry, Wuz!).

The Wuz
After spending some time thinking about what to put on our wienies this is what Yohan and I each came up with.  Yohan made a Mexican inspired hot dog with homemade guac, diced tomatoes, sour cream, and crisp shredded lettuce.  To make it even better he stuffed cheese in the middle of his dogs before grilling.  So creative, I know!

My hot dog had an Italian flair to it with fresh mozzarella, caramelized onions, mini heirloom tomatoes, and a balsamic reduction. 

So after we were all done and ready to be judged by the Wuz I blind folded her and brought her over from the living room to the dining table.  I probably should have blind folded her after she was sitting at the table but it was kind of fun watching her trying to navigate to her seat (with my help, of course).  

She started with Yohan's hot dog and then took a bite of mine, kind of switching back and forth between the two.  After two hot dogs later she said that she liked both but admitted that one was a little better to her liking than the other.  And the one that she liked more was....Yohan's! She preferred the guac and fresh veggies on Yohan's more than the caramelized onions on mine.  I guess I should have known my own sister better but oh well.  Congrats to Yohan! He really did a good job and I'd gobble up another one of his creations in a heartbeat.   

Thursday, August 25, 2011

Photo: Greek Yogurt with Blueberries

Greek yogurt with blueberries, drizzled with honey and sprinkled with chopped walnuts.  Perfect for a light breakfast.  Definitely something my roommate Xuan can be spotted eating after/before a yoga sesh :) 

Wednesday, August 24, 2011

Crisp Rosemary Flatbread

This recipe is comes from Smitten Kitchen/Gourmet Magazine and is very easy to make.  I've made it at least three or four times in the past month and I usually don't make the same thing too often unless I really like it.  It's more like a cracker than bread and perfect for eating with hummus or bruschetta sauce.  So when I decided to make the flatbread this morning this is where it started: my apartment balcony.


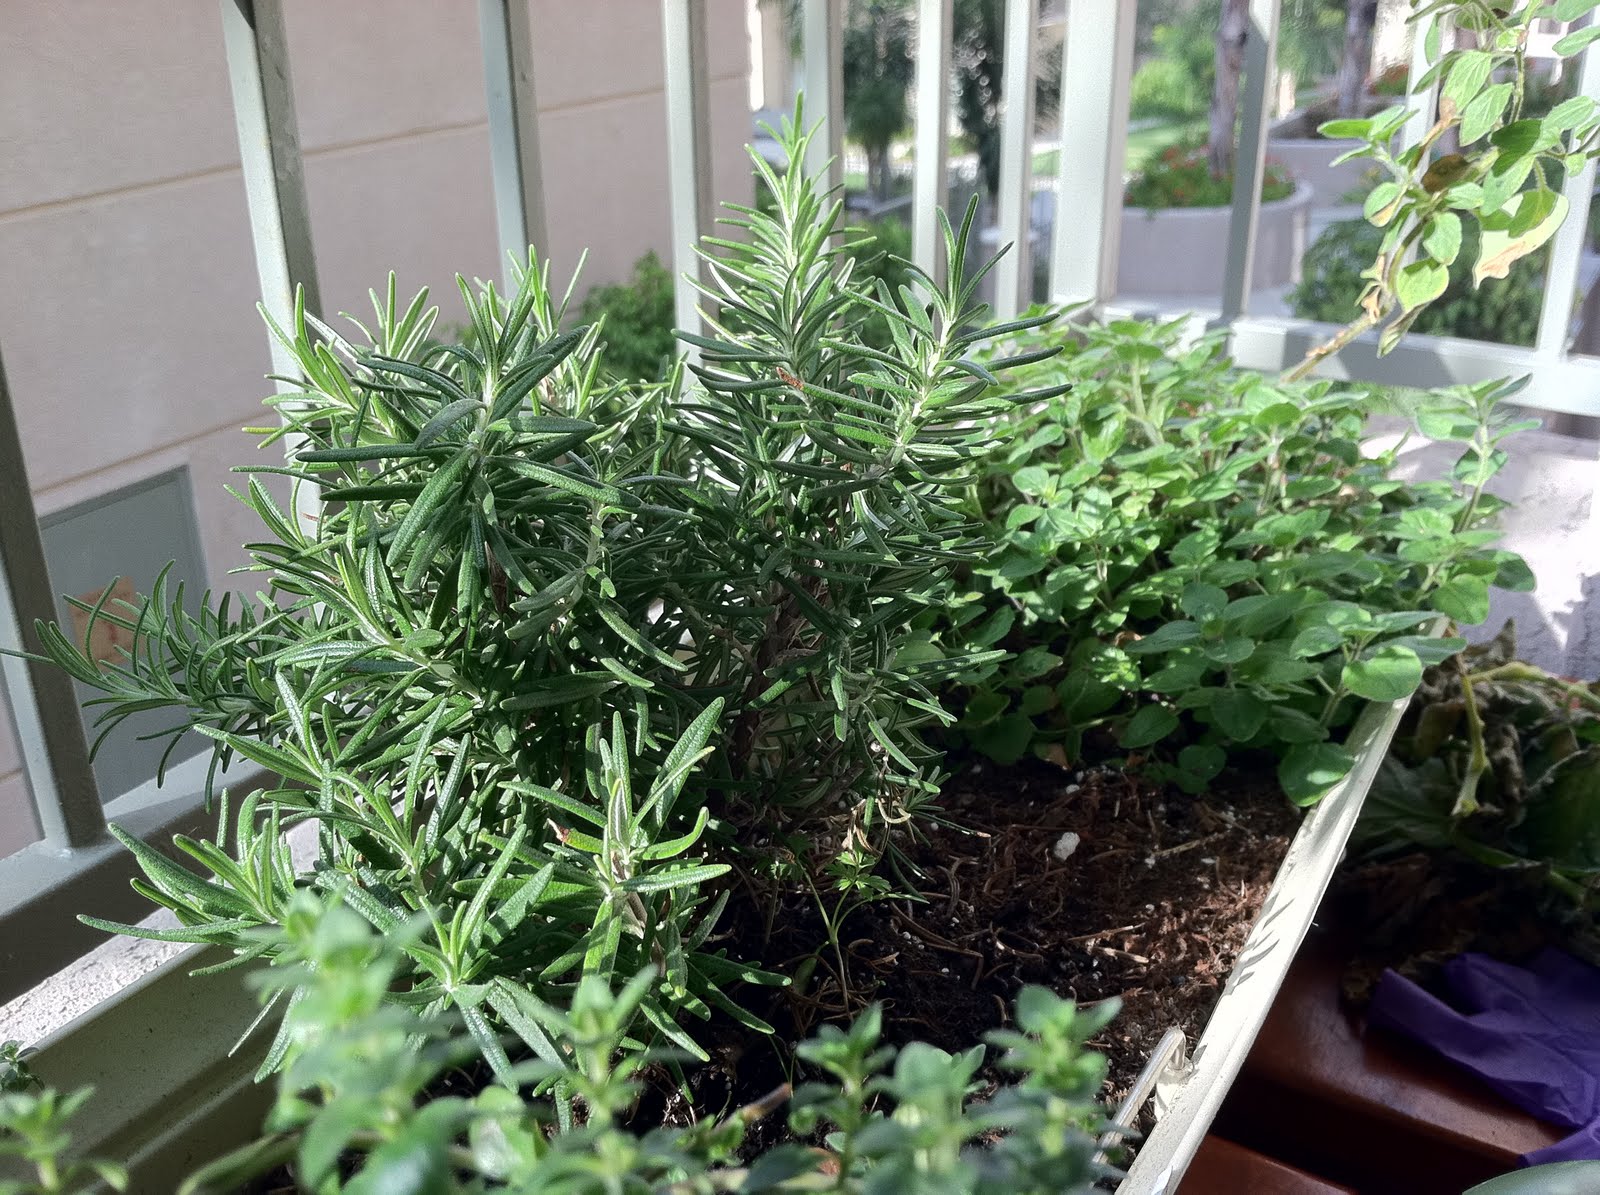
I picked the rosemary fresh from the little herb garden (Thanks to the Bird and Soph-a-loaf) we have.  I love having fresh herbs on hand! I'm actually not sure what the two other herbs are to the left and right of the rosemary but they tasted good on roasted potatoes.  As long as they taste good, right?   


Here's another shot of the rosemary plant with the tomato plant in the back.  This shot reminds me of a forest for some reason...it's probably because of all the greenery.  Sadly our tomato plant is not producing any tomatoes (yet) although it's getting pretty tall and we've had it for a while now.  It looks like a little tree, doesn't it?

So then after washing the rosemary I chopped it all up like so and then put all the dry ingredients (flour, salt, baking powder, and chopped rosemary) in a bowl.


Then I mixed the dry ingredients together and made a well in the middle for the water and olive oil.

After mixing it all up with my dough blender I took the dough ball out to knead a few times.  I love the feeling of squeezing and kneading dough, don't you? There's just something therapeutic about it that I can't explain. 

 Next I divided the dough into eight equal-ish parts.

Using a rolling pin I flattened the 1/8 pieces of dough, three at a time since that's all my baking sheet could fit.  You really have to flatten them out until they're super thin.  The first time I made these they turned out on the thick side.  I just like them better thinner because they turn out crispier.  I would try out different thicknesses to see what I like best.  After rolling them out I brushed the tops with olive oil and sprinkled some salt for flavor.


I baked them in the oven at 450 for about eight minutes, they turned golden brown.  

This Bruschetta Sauce from Trader Joe's is so so so good.  I call it Italian salsa.  It has tomatoes, olive oil, basil, and garlic.  Yum.  

The Recipe:

Makes 8 flatbreads

1 ¾ cups unbleached all-purpose flour
1 tablespoon chopped rosemary
1 teaspoon baking powder
¾ teaspoon salt
½ cup water
1/3 cup olive oil plus more for brushing
sea salt

Preheat the oven to 450˚F.  Lightly grease a baking sheet with olive oil and set aside.

Combine the flour, rosemary, baking powder, and salt in a bowl. 

Make a well and pour in the water and olive oil.  Use a dough blender or wooden spoon to mix ingredients together.

Take the dough out and knead a few times on a lightly floured surface.  Divide the dough into eight equal pieces.

Use a rolling pin to flatten out each 1/8 piece of dough.  Place rolled out dough on the baking sheet and brush with olive oil and sprinkle with salt.  Bake for 
approximately 8 minutes, or until golden brown. 

Repeat with remaining dough.


Monday, August 22, 2011

Photo: Tomato and Cream Cheese Toast


Simple but yummy.  Slices of tomato on top of toast and cream cheese.  And of course, fresh cracked black pepper.

Quinoa with Broccoli and Mushrooms


This is something I put together for lunch today using this is and that from the fridge and pantry.  It's something healthy and light that won't make you feel like you need a nap after eating.  Enjoy!
Makes 1 large portion or 2 small portions
1/2 cup quinoa, rinsed
1 cup water
1/4 onion, diced
1 clove garlic, minced
1/2 cup mushrooms
1/2 broccoli florets
1/4 cup cooked lentils
small handful sundried tomatoes (not packed in oil)
olive oil
salt and pepper
feta cheese
Directions:
In a small pot over medium heat, pour about 1 tablespoon olive oil.  Cook onions and mushrooms until they get a little color on them.  Stir in the garlic and season with salt and pepper.  Add the quinoa, water, and tomatoes.  Increase the heat and bring to a boil.  Cover and lower heat to a simmer.  Wait 10 minutes and add in the broccoli and lentils.  Cover and cook for 5 more minutes.  If there is too much moisture cook with pot uncovered.  If you like fresh cracked black pepper like me, add more before serving along with feta.   


Wednesday, June 15, 2011

Chicken Pesto Sandwich, Revisited

This is very similar to the Chicken Pesto Sandwich post from about a year ago.  The only real differences are the bread and the type of pesto.  Instead of the ciabatta rolls Wuz and I used Japanese white bread and used a basil pesto instead of spinach.  This Japanese white bread is cut into thick slices of chewy goodness and is even better toasted.  The brand I bought is Cherry Blossom from a grocery store called Nijiya.   


The pesto Wuz and I used this time around is the same as the one from before but we substituted spinach with basil.  I wasn’t expecting the dark green color but tasted good nevertheless.  We couldn't decide which version of the sandwich tasted better but agreed they were good in different ways.  Enjoy!


Monday, January 3, 2011

Thumbprint Butter Cookies

A new year has come and I so has a new blog post! It feels like I haven’t put up anything new in forever but here it is: Thumbprint Butter Cookies.

I didn’t grow up eating holiday cookies during the winter (unless you count those butter cookies in the round blue tins that you can buy from the store) so I wanted to try baking some of my own this year.  These cookies are kind of like the Knott’s shortbread jelly cookies but better because well, they’re homemade by me.  No, I’m not that full of it but really, they are good cookies.  The thumbprinting and jelly-filling part of making these cookies can get a bit tedious but think of it as a small price to pay for what you’ll end up with! 


Butter Cookies (recipe found on epicurious)

2 cups all-purpose flour
1/2 teaspoon salt
1/4 teaspoon baking powder
2 sticks (1 cup) unsalted butter, softened
1 cup sugar
1 large egg
1 teaspoon vanilla

Sift together the flour, salt, and baking powder.  In a large bowl beat the butter until creamy using an electric mixer.  Gradually add the sugar, beating until the mixture is light and fluffy.  Add the egg and vanilla and beat until combined well.  Add in the flour mixture little by little.  Beat the mixture until it just forms a dough.

Divide the dough into two and form six inch disks.  Wrap each with plastic wrap and let them chill in the fridge for about an hour or so. 

Preparing the cookies to bake

Preheat the oven to 350˚F.  Take out one of the disks of dough and your choice of jam (I used strawberry).  Make balls of dough using a teaspoon and arrange on a baking sheet, about 1 inch apart from each other.  Now use your thumb to make little wells in each cookie.  (If you do this step when the dough’s too cold you’ll find that the edges will have cracks.  I personally don’t mind this but those of you who want more aesthetically pleasing cookies should wait for the dough to warm up a bit before making thumbprints).  Take ¼ teaspoon and scoop jam into each thumbprint/well.  Pop them into the oven and bake for 12-14 minutes, until barely golden around the edges.  Let them cool on a rack and store in an airtight container.


Cooking with Angus All rights reserved