Inspired by this award winning recipe
Ingredients:
1 lb. sweet Italian sausage
1 lb. ground beef
1 onion, diced
1 red bell pepper, diced
1 jalapeno, diced
5 garlic cloves, minced
1 tablespoon cumin
3 tablespoons chile powder
1 teaspoon cayenne pepper
1/2 teaspoon cinammon
1 packet taco seasoning
1 jar of medium salsa
1 tablespoon Chipotle Tabasco
1 tablespoon Sriracha
3 tablespoons Asian sweet chili sauce
2 cans kidney beans, drained
1 can pinto beans, drained
1 can diced tomato
salt & pepper
- Brown sausage and ground beef in a big pot. Drain fat when almost done cooking.
- Add onion, peppers, and garlic to the meat. Salt & pepper. Cook until veggies are tender.
- Mix in all of the dry spices with the meat mixture. Stir until fragrant.
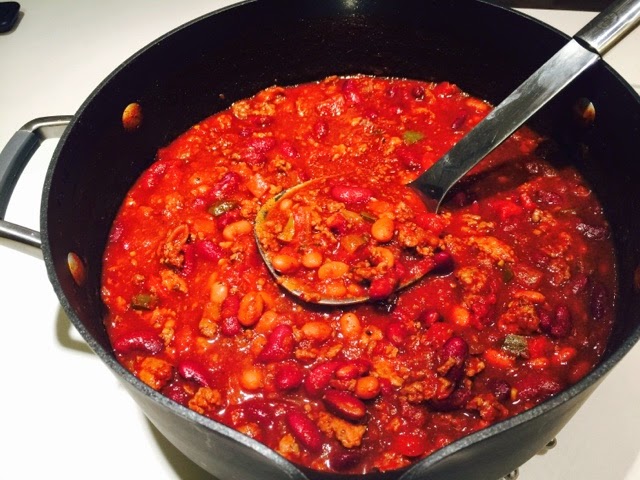
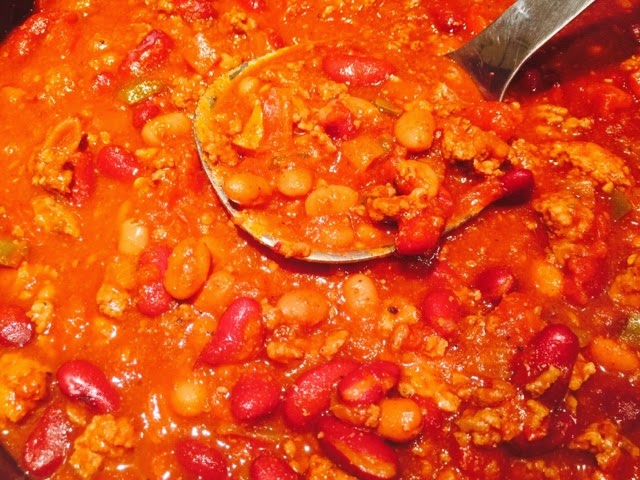
- Mix in sauces, beans, and tomatoes. Salt & pepper.
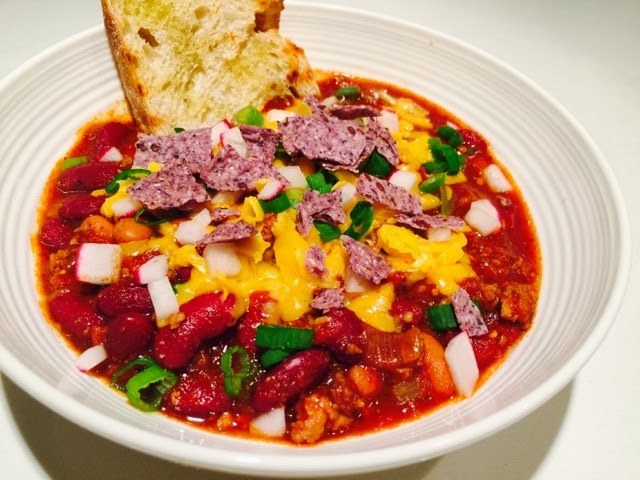
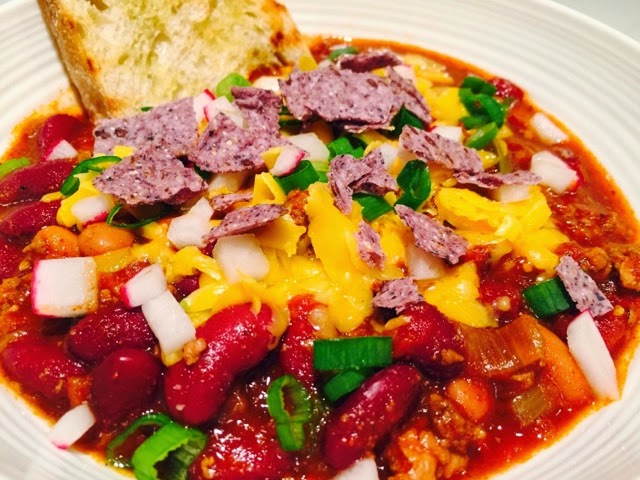
- Let the chili simmer on low for three hours. For toppings I used sharp cheddar, green onions, diced radishes, and crushed tortilla chips.